Build a Login/Signup using MERN Stack - Part 1 (Backend)

Hi all 👋! Today we will be learning about authentication in Mern Stack .
Login/Signup or I would say Authentication forms one of the basics of any application whether it be a web app or an android application . In this tutorial you will learning this authentication using MERN Stack . We'll be creating a minimal full-stack login/authorization app using the MERN stack (MongoDB for our database, Express and Node for our backend, and React for our frontend) .
We will be taking the help of Express js to create the authentication endpoints and also make the MongoDB connection to store the user’s data in it. We will use react and react-hook for state management on our frontend.
App functionalities
Register
Login
Access protected pages
Logout
In this blog , we will cover :
Setup our backend using npm and install necessary packages .
Setup database using MongoDB Atlas .
Create a database schema for user using Mongoose .
Create a signup route and save data to database .
Prerequisites
You should have at least a basic understanding of fundamental programming concepts and some experience with introductory HTML/CSS/Javascript . Before we get started, install all the tools we are going to need to set up our application .
Nodejs
Mongodb
Create-React-App
Visual Studio Code or your favourite Editor
Postman (API Testing)
Let's get started !
Set up backend
Create a project folder in your workspace to build REST API (backend) and run the following command.
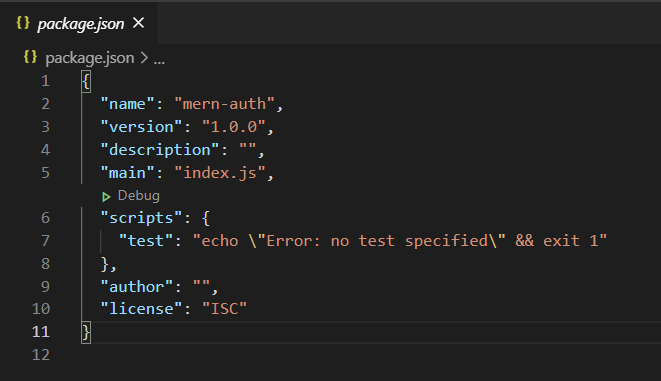
npm init
You can enter through most of these safely . After running the command, package.json will be created
Install the following dependencies using command :
npm i express mongoose nodemon
Express : Express is a nodejs web application framework that helps in creating rest APIs.
Mongoose : Mongoose is an Object Data Modeling (ODM) library for MongoDB and Node. js that allows you to interact with MongoDB database.
Nodemon : Nodemon is a tool that helps develop node.js based applications by automatically restarting the node application when file changes .
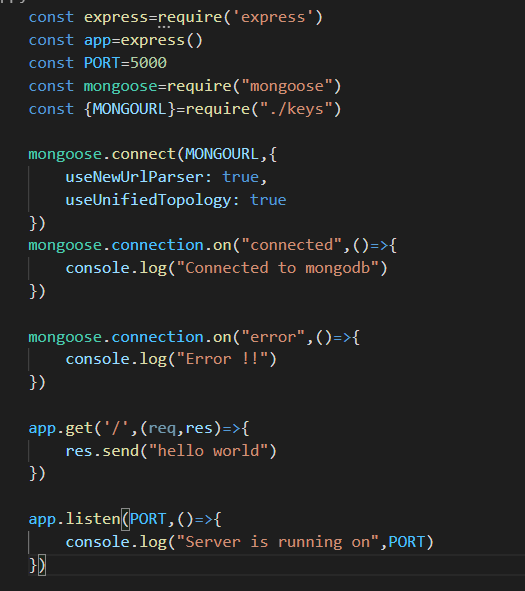
Create a file app.js inside the folder and write the following code .
const express=require('express')
const app=express()
const PORT=5000


app.get('/',(req,res)=>{
    res.send("hello world")
})

app.listen(PORT,()=>{
    console.log("Server is running on",PORT)
})
In the code , we are basically creating a server at port 5000 of our localhost . This app starts a server and listens on port 5000 for connections. The app responds with “Hello World!” for requests to the root URL (/) or route. For every other path, it will respond with a 404 Not Found.
Go to command line and run the command :
nodemon app
You will see a message in command line as :

Now , open your browser and go to "http://localhost:5000" You will have something like :
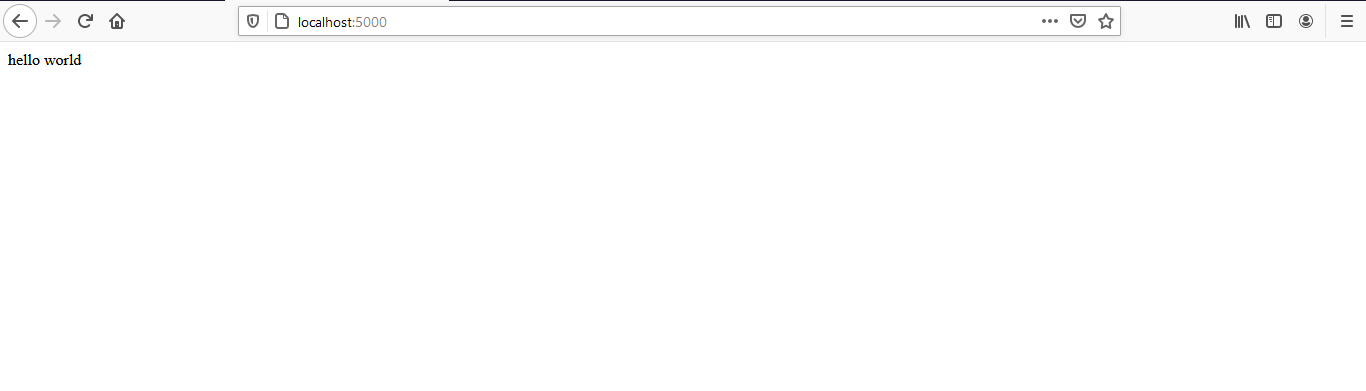
And wohooo 😍... you have successfully created your server .
Connecting our server to database
Next step is to create a MongoDB atlas account . You can take help of this tutorial or this video for creating an account .
After you have created an account , get the url of the mongodb . Your url would look like :
mongodb+srv://<username>:<password>@cluster0.suxf5.mongodb.net/<dbname>?retryWrites=true&w=majority
Replace your username( and password() of MongoDB atlas cloud along with the database name you created().
Next, we are going to test our MongoDB connection with our express server. Add the following code on our index.js file .
Now , create a keys.js file and save the mongourl over there like :

Let us connect our server that we just made to our database .
For doing that , we must use mongoose.connect() method as follows :
If initial connection fails, Mongoose will emit an 'error' event and the promise mongoose.connect() returns will reject .
Mongoose.connect will make a connection with the mentioned url and we will check for connection using mongoose.connection.on() method .
For more details go to link
When you go to the command line , you will see message of being connected to the database .
Congratulations 👍🤩 ! You just connected the server to database .
Defining a Schema
Now , next step is to create a database schema . We will be creating a database schema with the help of Mongoose.Schema() .
Create a folder models and in that folder create a files named as user.js .It will have our user model/schema .
You need to create a new schema and define various fields that you want in to have for a user . For example , in user schema you will have a field as name , then u need to define its type and other things like required , unique or any default values . At last , you have to create a model of that schema using mongoose.model which takes parameter the name and the schema it points to .

Creating routes for signup
We will be creating route for signup page where the user will send post request with the data from front end and that data will be saved in our database . There are four main HTTP methods that are used in the REST Api endpoints :
- GET : GET requests are the most common and widely used methods in APIs and websites. Simply put, the GET method is used to retreive data from a server at the specified resource.
POST : In web services, POST requests are used to send data to the API server to create or udpate a resource. The data sent to the server is stored in the request body of the HTTP request.
DELETE : The DELETE method is exactly as it sounds: delete the resource at the specified URL. This method is one of the more common in RESTful APIs so it's good to know how it works.
PUT : SimIlar to POST, PUT requests are used to send data to the API to update or create a resource . The difference is that PUT requests are idempotent. That is, calling the same PUT request multiple times will always produce the same result. In contrast, calling a POST request repeatedly make have side effects of creating the same resource multiple times.
We will be sending post request to the signup route , so that our data gets saved/posted in our database. Routing refers to how an application’s endpoints (URIs) respond to client requests.
You define routing using methods of the Express app object that correspond to HTTP methods; for example, app.get() to handle GET requests and app.post to handle POST requests.
The application “listens” for requests that match the specified route(s) and method(s), and when it detects a match, it calls the specified callback function. Route paths, in combination with a request method, define the endpoints at which requests can be made. Route paths can be strings, string patterns, or regular expressions.
Create a folder for routes and a file for creating routes . Require the packages and create a route with the help of express.Router() .
const express=require('express');
const router=express.Router();
const mongoose=require("mongoose")
const User=mongoose.model("User")

router.get('/signup',(req,res)=>{
      res.send("hello");
})

module.exports=router
In the above code , a route is set at localhost:5000/signup and when we send a get request to the above path , the code inside it will run .
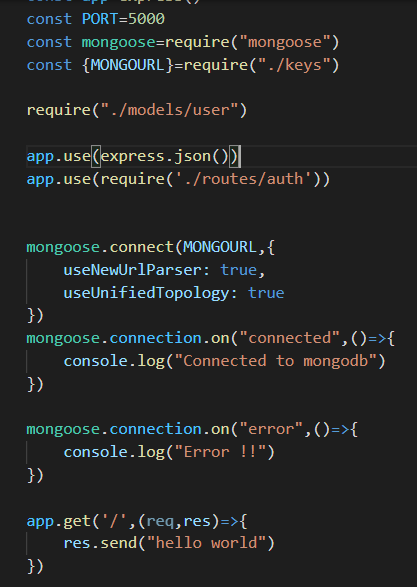
Require the the file in our app.js and create a middleware using app.use() . Also , use express.json() , to convert that data into json object . Here , auth.js in my file in route folder .
In this case , hello would be imprinted on screen like :

If this is shown on your browser , then you have succeeded in creating a signup route . Now , it's time to create a post request to that route . Add the following code to create a post request .
router.post('/signup',(req,res)=>{
    var {name,email,password}=req.body
    console.log(req.body)
    if(!email || !password || !name)
    {
        return res.status(422).json({error:"Add all data"})
    }
  return res.status(200).json({message:"DONE  !"})
})
We will sending data to be posted through Postman . Here is the tutorial . The data that is send to the server through post request is stored in the body of the request and we can access that data using req.body() . We sent a json data like :
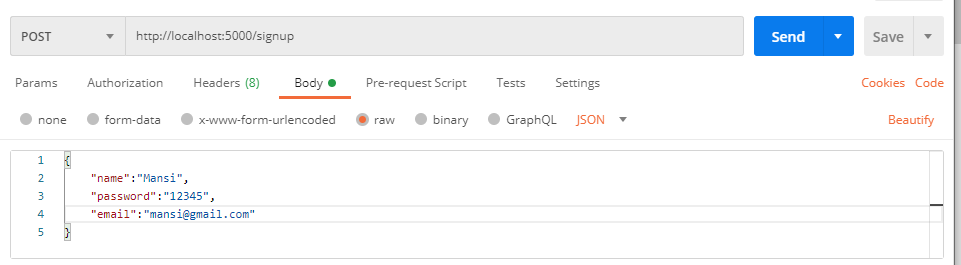
Once the request is send , we need to destructure that data using {} .
var {name,email,password}=req.body
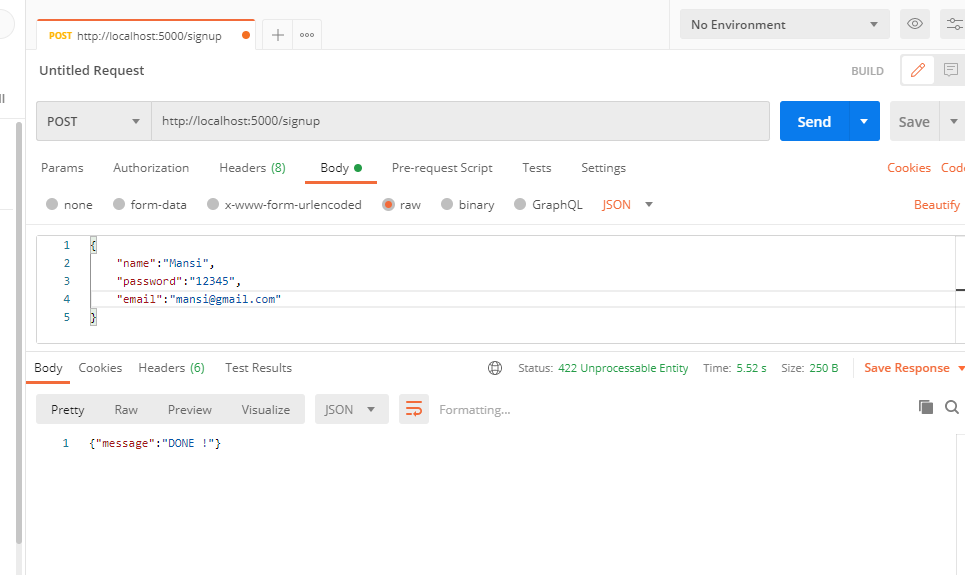
This basically takes the data from body and saves into respective variable . If any of the field the field is not available then the it will send an error message with status 422 . Check for more status code here .
In postman , try to send post request to localhost:5000/signup with json data in the body . You will see following DONE message in postman .
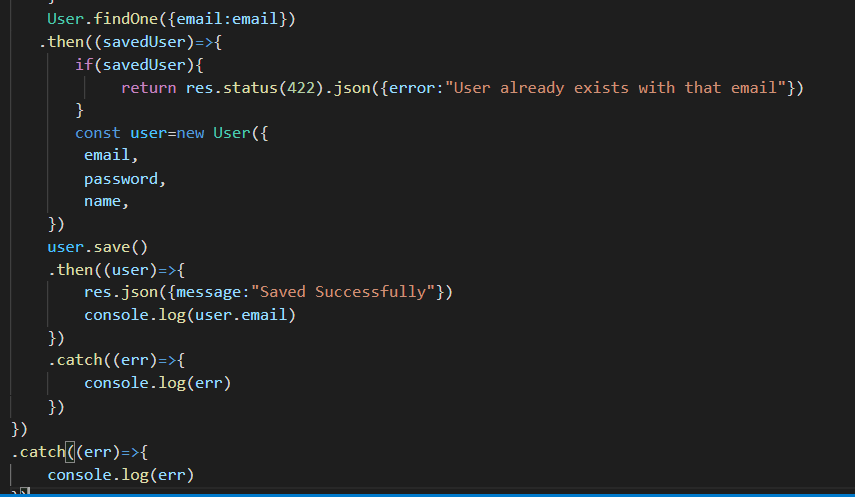
Now , since we have have access to the data we will save it to our database . For that , we will first check if a user with that same mail exists or not . If it doesn't exist then , we will create an object of type User (model) with data which we have destructured .
After that , save the user using User.save() . Once it is executed it will either return an error which will we caught in catch blog or it will return saved user . We will use .then for checking this and use catch block to catch any type of errors . If the data exists of that mail , then error will be shown .
Full code is :
const express=require('express');
const router=express.Router();
const mongoose=require("mongoose")
const User=mongoose.model("User")

router.get('/signup',(req,res)=>{
    res.send("hello");
});

router.post('/signup',(req,res)=>{
    var {name,email,password}=req.body
    console.log(req.body)
    if(!email || !password || !name)
    {
        return res.status(422).json({error:"Add all data"})
    }
    User.findOne({email:email})
   .then((savedUser)=>{
       if(savedUser){
            return res.status(422).json({error:"User already exists with that email"})
       }
       const user=new User({
        email,
        password,
        name,
    })
    user.save()
    .then((user)=>{
        res.json({message:"Saved Successfully"})
        console.log(user.email)
    })
    .catch((err)=>{
        console.log(err)
    })
})
.catch((err)=>{
    console.log(err)
})
})

module.exports=router
Now , when you send a request from Postman the data would be saved in our database . After saving the data , message would be displayed in our Postman .
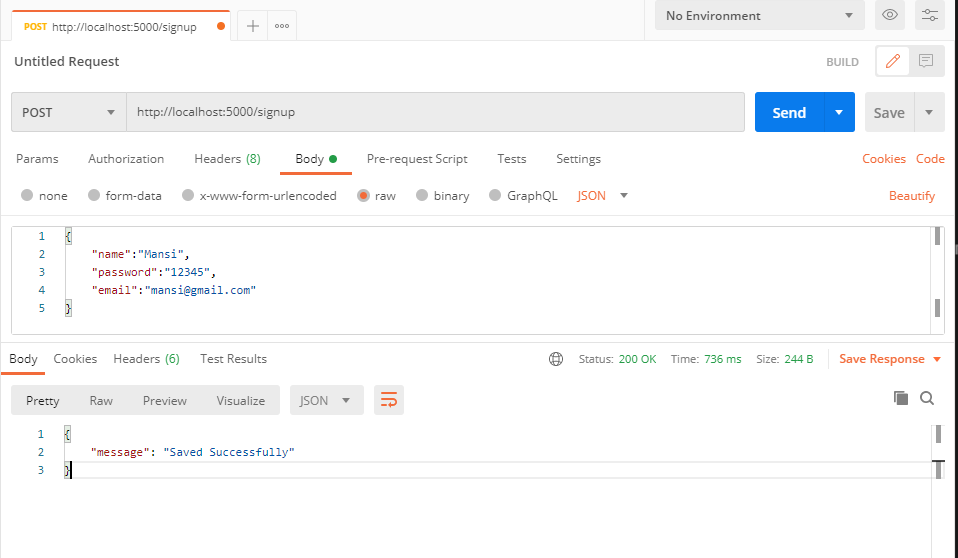
You can check the documents in the Mongodb Atlas , there will be one document of your data . And if you re able to see then a very congratulations to you . You have successfully posted the data to your database 😍🤩 .
I hope you find this blog useful . There will be another blogs coming in future to complete the authentication part .
You may also like :

